GUIDE: HOW TO SET UP YOUR MOUNTAIN BIKE SUSPENSION – FORK & SHOCK
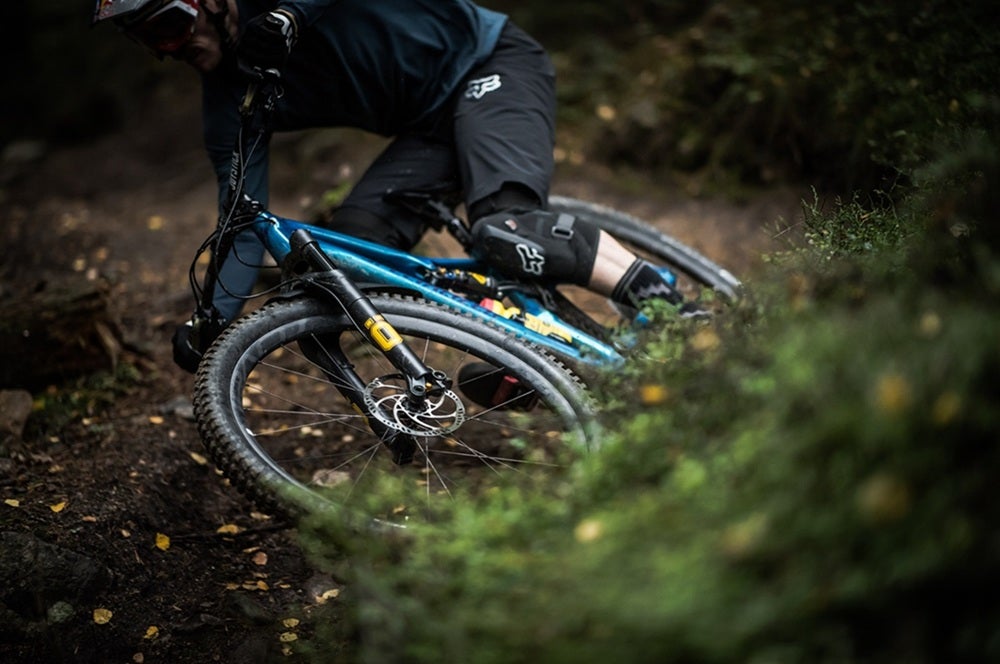
Does your bike feel too stiff on gravel trails, or too soft to handle jumps? Learning how to adjust your mtb suspension setup is essential for achieving the perfect balance of comfort and control. Proper suspension setup can drastically improve your riding experience, making climbs smoother and descents more controlled.
Table of Contents:
Step 1: Get the sag right on your rear shock
Step 2: Set your rebound damping
Step 3: Adjust compression damping
Step 4: Optimize the air-spring rate
Step 5: Progressive spring rate
How adjusting MTB suspension keeps your bike stable
Suspension on a mountain bike works by compressing when you hit a bump, which absorbs the energy from the impact. Then, it extends back out to keep your tires in contact with the ground, helping you stay in control.
To work properly, suspension needs to balance compression and extension. This is done by preloading it with your body weight, a setup called sag. Sag is how much your suspension sinks when you sit on the bike.
Too little sag: The bike won’t grip well because the suspension can’t extend properly.
Too much sag: The bike will feel slow and struggle to handle repeated bumps.
Getting the right sag ensures your suspension performs smoothly and keeps you in control on the trail.
This guide explains how to adjust your mountain bike’s front fork, rear shock and fine-tune your MTB suspension for better performance. Follow the step-by-step instructions to get your bike ready for any terrain.
Before you start adjusting your suspension
Before fine-tuning your suspension, check that your fork is in good condition. Adjustments won’t help if it's not working properly. In this guide, we’ll walk you through adjusting your mountain bike’s front and rear suspension for optimal performance. First, make sure the front components are in proper working condition.
How often should mountain bike forks be serviced? – Manufacturers usually recommend an oil service every 50 hours of riding and a full damper service every 100–200 hours. If you’re unsure when your suspension was last serviced, it might be time to visit a professional a well-maintained suspension can dramatically improve your bike’s performance!
What you'll need to follow this guide
To follow this guide and get the most out of your suspension, gather the following items:
• Your regular riding gear (helmet, backpack, etc.)
• A short, familiar technical trail for testing
• A shock pump
• A ruler or tape measure
• A calculator
• A friend to help you with measurements
Always remember: Suspension is a compromise!
There’s no one-size-fits-all suspension setting. When you adjust your suspension for better support on big impacts, you may lose some sensitivity on small bumps. MTB suspension setup is always about finding the right compromise – striking a balance between responsiveness and stability.
Check out our YouTube channel for MTB suspension setup guides:
Step 1: Get the sag right on your rear shock
Before you get started on the front suspension, check that the sag is right on your rear shock. Make sure your rear shock is in “fully open” mode. If your shock has a low-speed compression adjuster, turn it fully in the "–" direction. This ensures the suspension can move freely during setup.
How to adjust the sag on your rear shock:
- It’s time to get on the bike. Ask a friend to hold your bike steady on level ground while you get on. Once you’re on the bike, bounce up and down a few times to activate the suspension and make sure it’s moving properly.
- Then, sit in your normal riding position and wait for about 5 seconds so the suspension settles. While you’re still seated, have your friend slide the rubber O-ring from the shock’s stanchion up to the seal.
- Carefully get off the bike, making sure you don’t move the O-ring. Measure the distance between the O-ring and the seal in millimeters. This tells you how much the suspension compressed under your weight.
- Calculate the sag percentage by dividing the distance by the total shock stroke (check your bike manual for this number) and multiply by 100.
Example: If the O-ring is moved 15 mm and the total stroke is 50 mm, the sag is (15 ÷ 50) × 100 = 30%.
If the sag is too high (more than 30%), add air to the shock in small increments — about 10 psi at a time. If the sag is too low (less than 30%), let out some of the air. After each adjustment, repeat the process until you’ve reached the correct sag.
Unsure how to pump the shocks on your MTB? – Use a dedicated shock pump to adjust the air pressure, following the manufacturer’s recommendations for your weight and riding style.
Important! – For the most accurate MTB sag reading, ask someone to hold your bike steady during setup so you don’t need to use either brake. If you’re setting the sag without help, hold only one brake, as holding both can result in inaccurate readings.
How to adjust the front forks on your mountain bike:
Now that your rear shock is dialed in, it’s time to set up your front fork. So, how do you adjust the front fork? Start by ensuring the suspension is fully open and adjust the air spring pressure according to the manufacturer’s recommended settings. If you’re unsure, refer to your bike manual or use a baseline setting as a starting point.
-
Get on your bike again. Bounce firmly up and down a few times to activate the negative spring and free up the seals.
-
Stand in your normal attack position (standing, with knees and elbows slightly bent) and let the bike settle for about 5 seconds. Have your friend slide the rubber O-ring from the fork stanchion down to the wiper seal while you stay in position.
-
Carefully dismount the bike without disturbing the O-ring. Measure the distance between the O-ring and the wiper seal in millimeters. Divide this number by the fork’s total travel, then multiply by 100 to calculate the sag percentage.
-
Now it's time to adjust the air pressure. If the manufacturer doesn’t provide specific recommendations, 20% sag is a good starting point for most riders. Adjust further based on your riding style and trail conditions.
If the sag is too high (more than 20%), add air in small increments (around 10 psi) to the air spring. If the sag is too low (less than 20%), let out air. Repeat the process until you achieve the desired MTB sag.
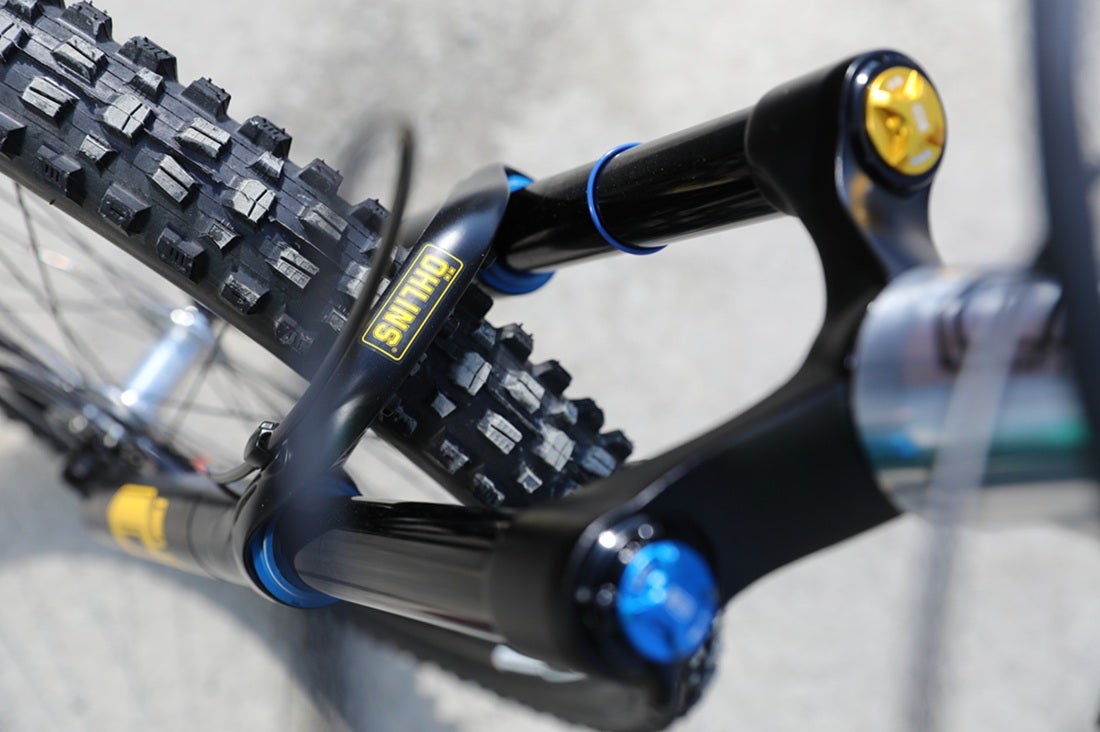
Now it’s time to fine-tune your base settings
Find a short section of a local trail that resembles the type of terrain you ride most often. Look for features like rocks, drops, jumps, berms, and dips. The more variety, the better. Ideally, the trail should have at least one section where you expect to use the full suspension travel, as well as areas where you feel confident repeating the same lines multiple times for consistent testing.
Before you start making adjustments, ensure that all external rebound and compression settings are set to the manufacturer’s recommended specifications. This provides a solid baseline tailored to your weight and ensures your suspension is starting in the right range for fine-tuning.
Step 2: Set your rebound damping
Rebound damping controls how quickly your suspension returns to its normal position after compressing from an impact.
• Too little rebound damping (-): The suspension extends too quickly, feeling bouncy and hard to control.
• Too much rebound damping (+): The suspension extends too slowly, so it sinks lower with each bump and performs poorly.
Set the rebound damping on your rear shock:
-
Turn the rebound damping all the way to the maximum setting (+).
-
Ride off a small drop slowly and focus on how the shock rebounds after the impact.
-
Reduce rebound damping one click (-) at a time, testing after each adjustment.
-
Stop when the rear shock rebounds slightly too fast and overshoots. This is your base setting.
-
Ride a familiar section of trail. Adjust by two clicks in either direction to find the setting that feels the most controlled and provides the best grip.
Set the rebound damping on your fork:
-
Turn the fork rebound damping all the way to the maximum setting (+).
-
Stand next to the bike, compress the fork with your weight, and let it rebound freely.
-
Reduce rebound damping until the fork extends as fast as possible without causing the front wheel to lift off the ground.
-
Ride a full section of the trail. As with the rear shock, test two clicks in either direction to see what feels best.
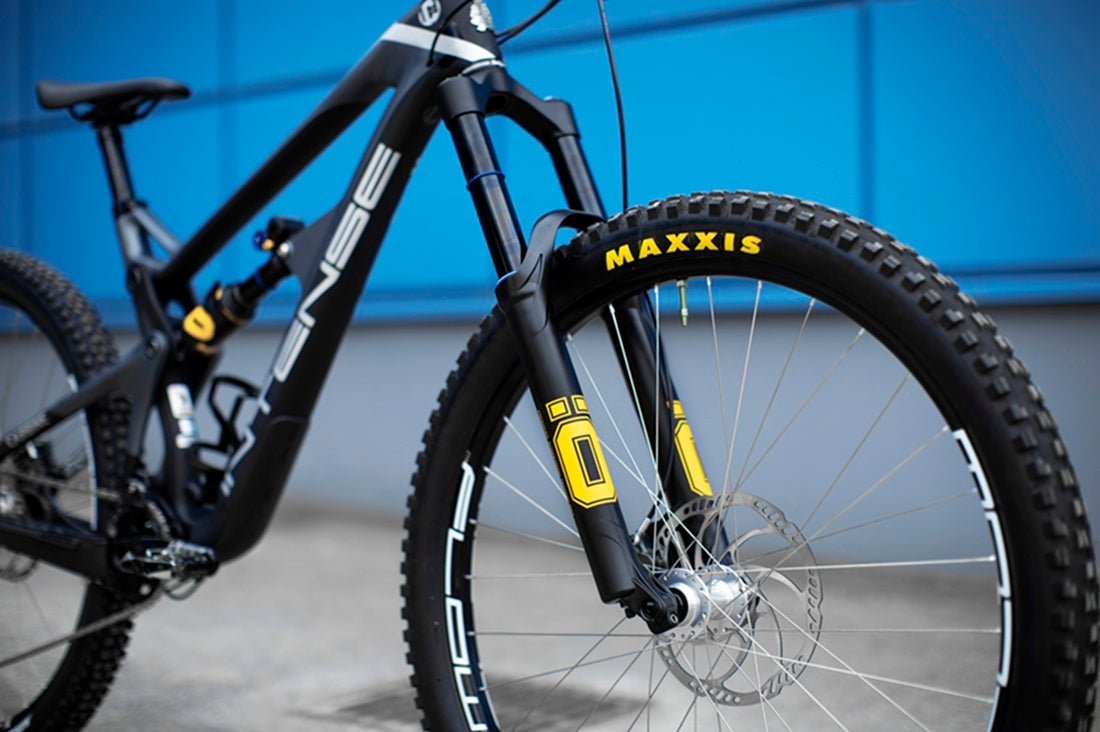
Step 3: Adjust compression damping
Compression damping controls how quickly your suspension compresses when it encounters forces from the rider or the terrain. Adjusting compression damping helps improve support, comfort, traction, and control.
Mountain bike suspension typically features two compression damping adjustments:
• Low-Speed Compression (LSC): controls slower suspension movements, such as braking, cornering, pumping terrain, and weight shifts.
• High-Speed Compression (HSC): controls how the suspension responds to sudden, high-impact forces, such as jumps, drops, roots, rocks, and square-edge hits.
Start by dialing in low-speed compression to improve support and handling, then fine-tune high-speed compression to optimize performance on rough terrain and larger impacts.
Adjusting low-speed compression
If your bike handles small bumps well and doesn’t bottom out, but still sinks too much under braking, in corners, or on steep trails, increase the low-speed compression damping. This adds support and helps the suspension sit higher in its travel, though it may slightly reduce sensitivity.
How to adjust it:
-
Set low-speed compression damping to the minimum (no damping added).
-
Ride a familiar trail, focusing on braking, corners, weight shifts, and jumps.
-
After each ride, increase damping by two clicks (+). Adjust until the suspension feels stable and supportive without being too stiff.
Use the same process for the fork, adding damping until it feels balanced and provides enough mid-stroke support.
Adjusting high-speed compression
If your suspension bottoms out too easily on large impacts, such as drops, jump landings, rock gardens, roots, and square-edge bumps, increase high-speed compression damping to add support. If the suspension feels harsh on rough terrain, deflects off obstacles, or struggles to absorb bigger hits, reduce high-speed compression damping.
How to adjust it:
-
Start from the recommended base setting in your suspension manual.
-
Ride a familiar section of trail with larger impacts and rough terrain.
-
Make small adjustments, typically one click at a time. Increase damping (+) if the suspension bottoms out too easily. Decrease damping (-) if the suspension feels harsh or lacks grip over rough terrain.
Continue until the suspension feels controlled and comfortable while still using an appropriate amount of travel.
Tip! – Keep your fork and rear shock settings balanced. If one is much stiffer than the other, your bike may feel unsteady. A balanced setup improves control and comfort.
Step 4: Optimize the air-spring rate
A good starting point for MTB suspension setup is 20% sag in the fork and 30% sag in the shock, but these settings might not perfectly match your riding style or your bike's suspension design. The key to fine-tuning your suspension lies in balancing big-hit support with small-bump sensitivity. Use our step-by-step guide to adjust your suspension based on how it feels on the trail.
1. Evaluate suspension performance
Start by sliding the O-rings on your fork and shock down to the wiper seals. Then, ride a familiar trail and focus on how your suspension behaves:
• Are you bottoming out harshly on big impacts or drops?
• Does it feel harsh on small bumps?
• Are you using the full suspension travel where expected?
2. Adjust the rear shock
If the rear feels unstable and bottoms out easily:
The spring rate (air pressure) in your shock is too low. Add 10 psi at a time to the rear shock and repeat the trail until the bike feels stable.
If the rear feels harsh and doesn’t use full travel where desired:
The spring rate is too high. Remove 10 psi at a time from the rear shock. Repeat the trail until it feels smoother over small bumps and maintains good traction.
3. Adjust the front fork
If the fork dives under braking or on steep trails:
The air spring rate in your fork is too low. Add 5 psi at a time to the fork. Ride the trail again until the fork provides better support and dives less.
Fork dive can also be affected by compression damping settings. If sag is correct, try increasing low-speed compression first – adding air pressure can reduce small-bump sensitivity
If the fork feels harsh on small bumps and lacks grip:
The air spring rate is too high. Remove 5 psi at a time from the fork. Ride the trail until the fork feels more sensitive over small bumps but still offers good support.
If your suspension often hits the end of its travel (bottoms out) and you have to use very high spring pressure, you might need to adjust how your suspension handles bigger impacts. This is explained in the next step.
Step 5: Progressive spring rate
To get the most out of your suspension, it’s important to consider how powerful you are as a rider and how demanding your trails are. If you’re a strong rider and notice that your rear suspension frequently bottoms out, or your fork sinks too far into its travel during hard braking or fast corners – it might be time to adjust your suspension’s progression.
What is suspension progression?
Making your suspension more progressive means that it becomes firmer towards the end of its travel, requiring more force to reach full compression. This helps reduce harsh bottom-outs on bigger impacts while maintaining sensitivity earlier in the travel.
Progression is commonly adjusted by adding volume spacers to the air chamber of your fork or shock. These reduce the available air volume, causing the spring rate to increase more rapidly as the suspension compresses.
Some higher-end suspension systems, such as those from Öhlins, also feature a separate ramp-up chamber. Unlike volume spacers, which require physical changes inside the fork or shock, a ramp-up chamber can be adjusted by changing air pressure. This allows riders to independently tune the amount of end-stroke support and progression without significantly affecting the initial part of the suspension travel, making setup quicker and more precise.
When to adjust the volume?
If your suspension bottoms out too often despite correct air pressure:
Add 1-2 volume spacers to the air chamber. This reduces the air volume, making the suspension firmer at the end of its stroke and less likely to bottom out.
If you’re not using full travel where you expect to:
Remove 1-2 volume spacers to increase the air volume. This allows the suspension to use more of its travel, improving comfort and traction.
Important! – If you make big changes to your fork, like increasing spring pressure or adding volume spacers, remember to adjust your rear shock too. A better front suspension often means you’ll ride harder, so the rear needs tuning to stay balanced. Test your setup on a familiar trail to make sure the fork and shock work well together for smooth and controlled riding.
Get the best ride with suspension from Öhlins
Now that you know how to adjust the front and rear suspension on your mountain bike, it's time to take your riding to the next level. Explore our MTB suspension options and start fine-tuning your setup today!
Öhlins suspension is crafted to deliver top-tier performance and unmatched control – whether you’re riding your mountain bike, motorcycle, or tackling powersports and automotive adventures. With advanced engineering and premium materials, Öhlins suspension is built to handle any terrain or road with precision and reliability.
FAQ
How much sag should a mountain bike fork have?
Most mountain bike forks perform best with 15-20% sag. Start at 15% for a firmer, more responsive ride feel, or increase to 20% if you're looking for added comfort and traction. From there, fine-tune your setup based on your bike, riding style, terrain, and the manufacturer's recommendations.
How many volume spacers should I use?
The right number of volume spacers depends on several factors, such as your weight, riding style, fork travel, and terrain.
Start with the fork manufacturer’s recommended setup. Add a spacer if you use full travel too easily or the fork feels too soft near the end of its stroke; remove one if you cannot achieve full travel or the fork feels harsh. Change one spacer at a time and recheck air pressure and sag after each adjustment.
How often should I service my fork?
Service intervals vary between fork models, so always follow the manufacturer's recommended service schedule. As a general guideline, clean your fork after every ride, service the lower legs every 50 riding hours, and perform a full damper and air spring service every 100-200 hours, or at least once a year.
If you notice reduced performance, oil leaking from the seals, unusual noises, or excessive play in the fork, it's a good idea to service it sooner.
Which should I set up first — the front fork or rear shock?
Set up the rear shock first, then the front fork. Start by adjusting rear shock sag, as this determines the bike's ride height and overall weight distribution. Once the rear is set, adjust the fork sag and fine-tune both ends to achieve a balanced suspension setup. Always follow the recommendations provided by your bike and suspension manufacturers.